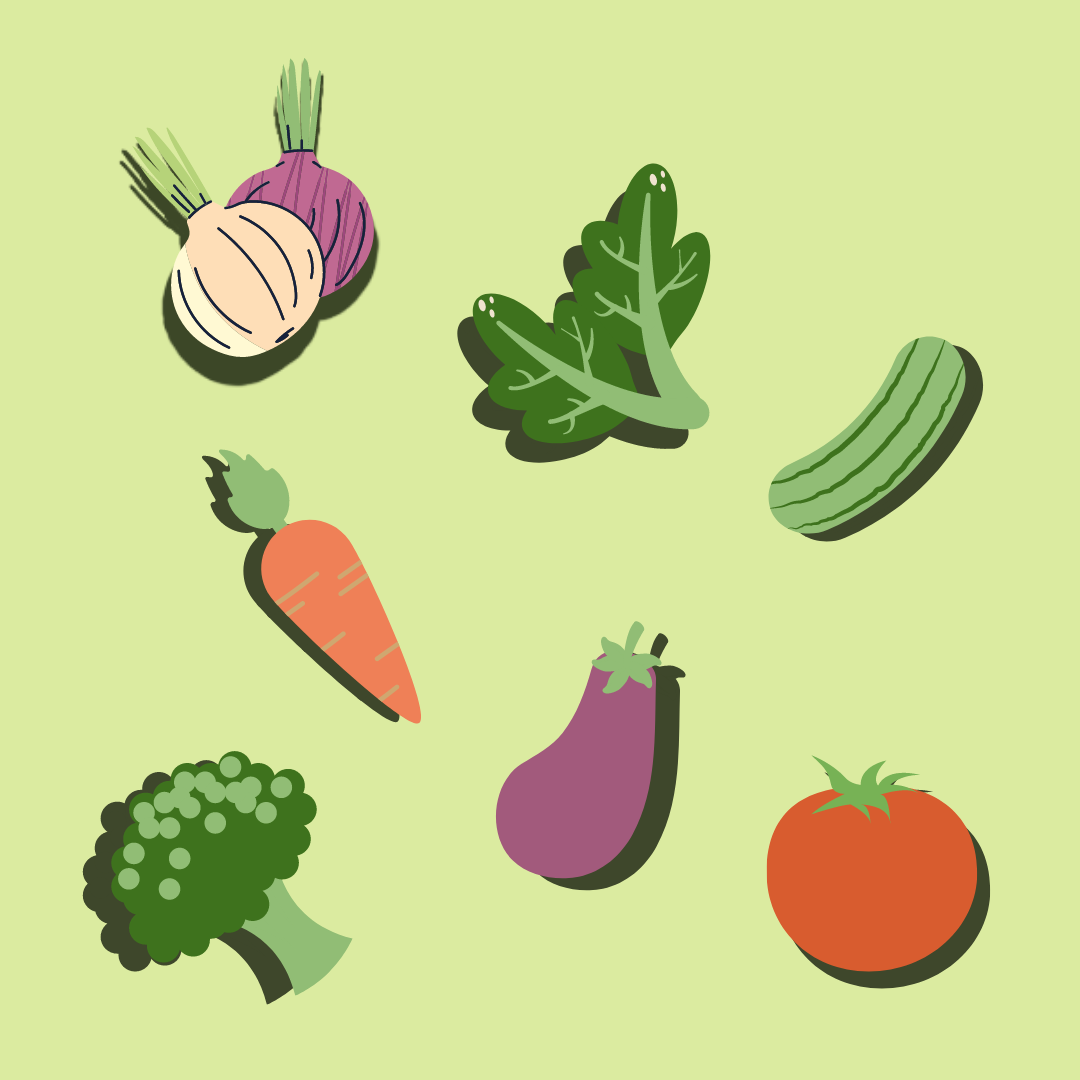
Step 1: Decide what you would like to grow and what you will do with your produceIt is important to take into consideration the weather in the area that you plan on starting your garden. The map to the right is the USDA Plant Hardiness Zone Map that shows each zone and the microclimate of that region. Use this map to determine what plants would be best to grow in your area.
Also make sure you know what you are going to do with the vegetables and fruits you grow. If you plan on starting a large garden, make sure you have enough freezer space to store this produce or people to give or sell your produce to. |
|
|
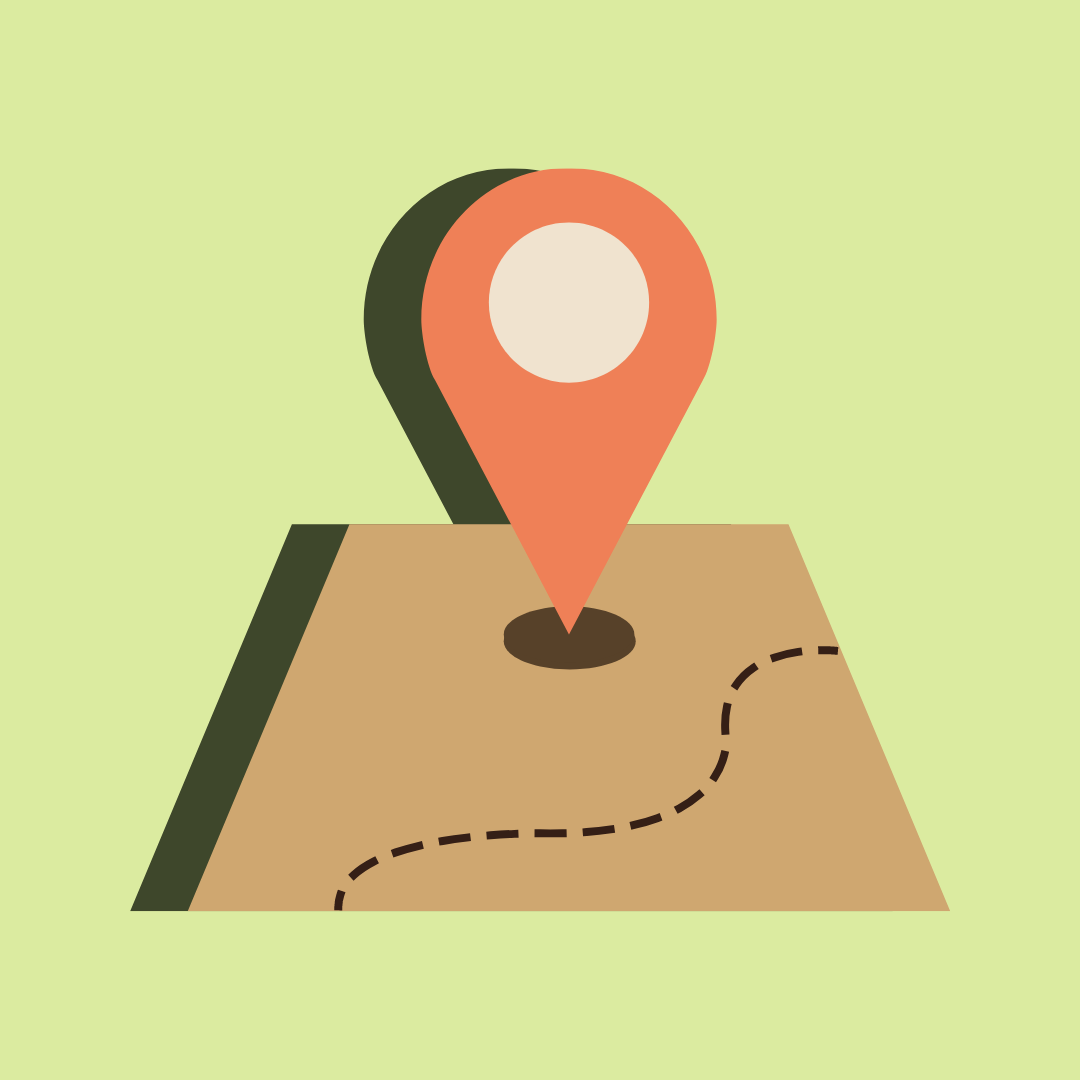
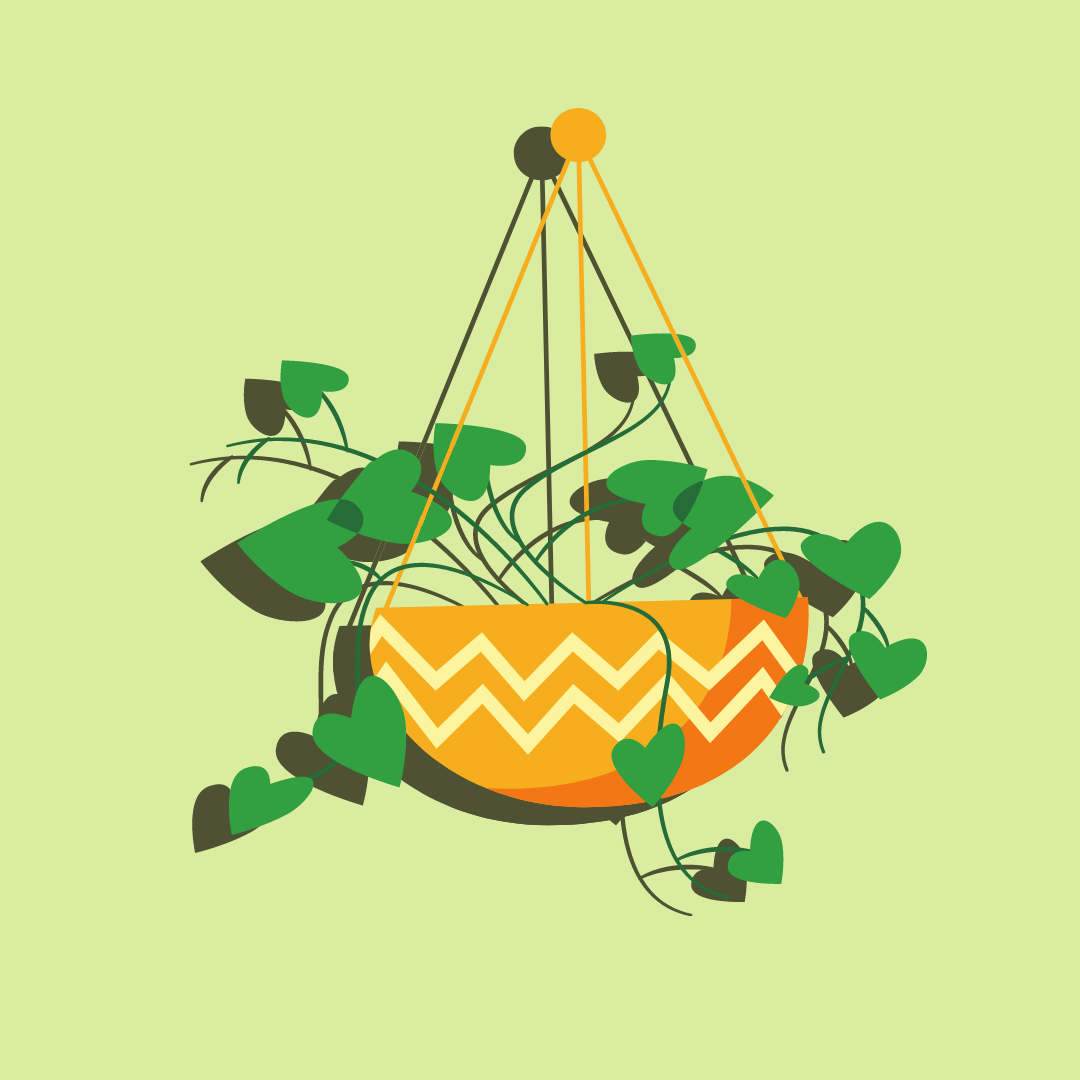
Step 2: Choose a location to start your gardenYou need to choose an optimal location for your garden as most fruits and vegetables need full sun, with a minimum of five hours of direct sunlight per day for fruiting. Greens, herbs, and root veggies will grow in partial shade. Southern gardens may benefit from late afternoon shade, whereas northern gardens likely need all the sun they can get.
|
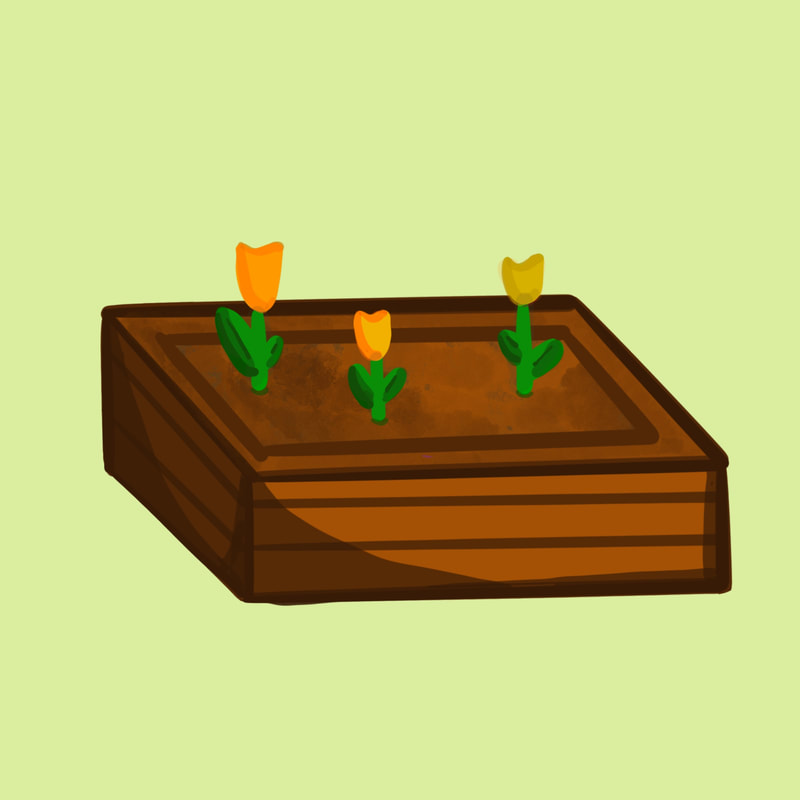
Step 3: Plan and build your garden bedsOnce you have decided where you want to place your garden, you need to decide the type of garden beds you are going to install. Raised beds are attractive and may make it easier to work in your garden, but they also dry out more quickly. In very dry areas, sunken beds can be used to gather available moisture.
The goal is minimize walkways and maximize growing space. Start small, and make sure to give each plant enough room to grow. The seeds and transplants are tiny, but full grown plants can get huge. Overcrowded plants have difficulty thriving. A small, well-tended garden can produce as much or more than a large, poorly tended garden. |
|
|
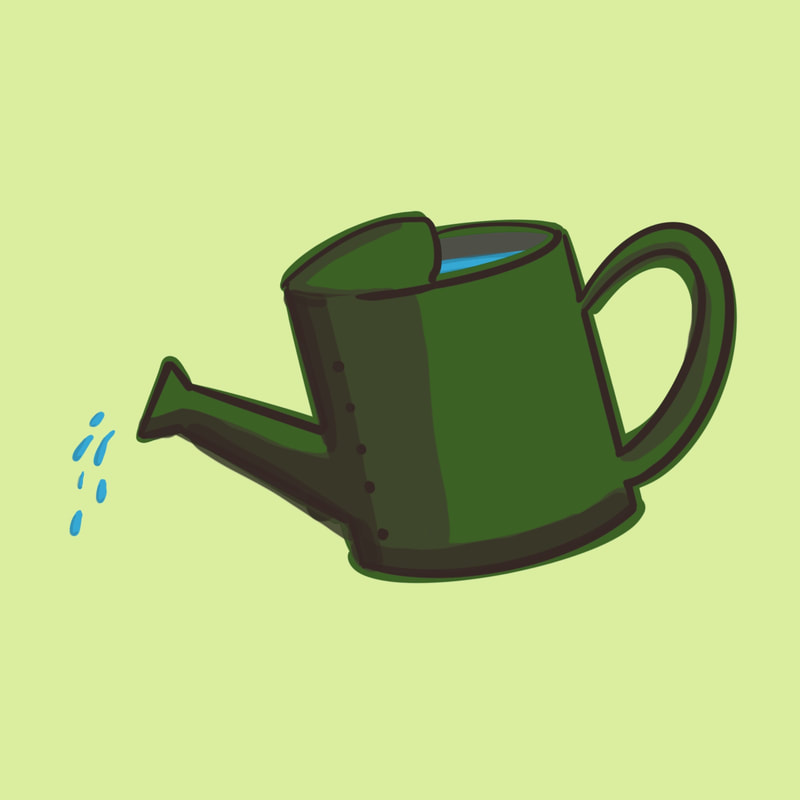
Step 4: Buy basic gardening suppliesSome gardening equipment you should have includes:
|
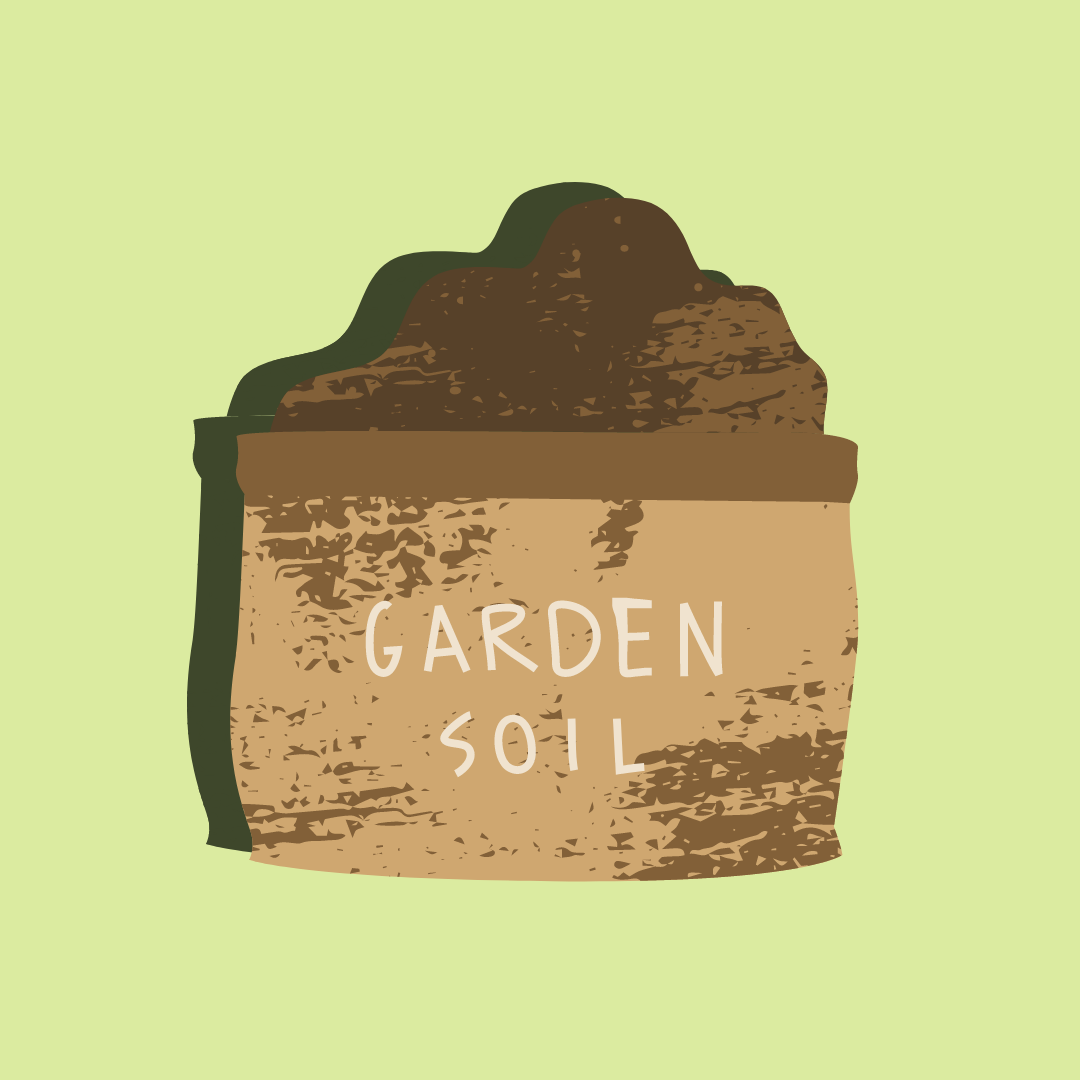
Step 5: Test and build your soilMost garden crops prefer soil with a pH around 7 (neutral), although some like conditions that are slightly acidic (potatoes) or slightly alkaline (brassicas). Balanced nutrient levels are also important, as is the presence of organic matter.
If you are starting with sod, you will either need to cut it up in chunks and repurpose it, till it in, or lay down wet newspaper or cardboard to smother it and build a bed on top. Preparing in fall is best, but do not let that stop you from starting in spring. Most plants prefer a deep, well-drained, fertile soil rich in organic matter. Plant roots need good garden soil to produce good vegetables and fruit. |
|
|
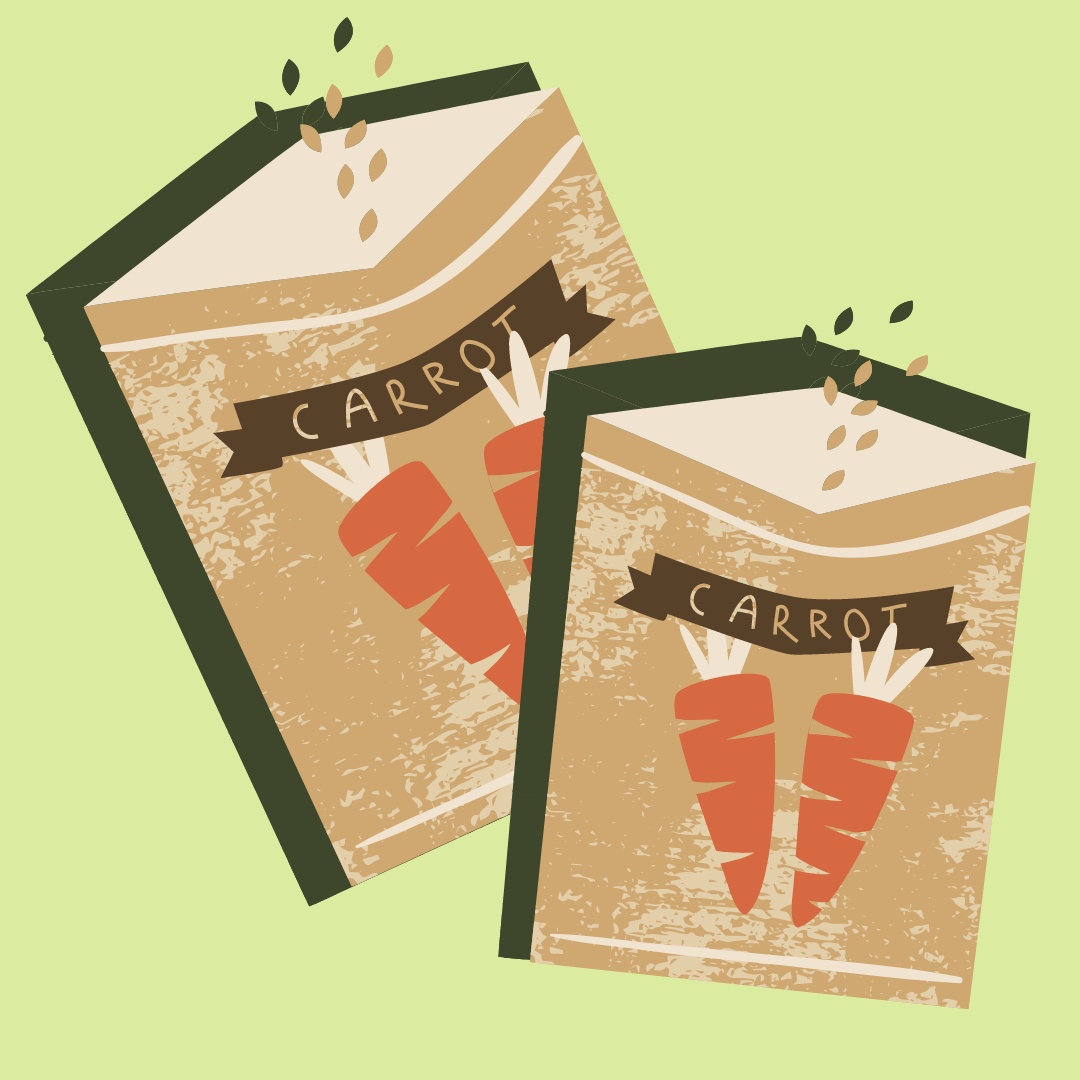
Step 6: Choose the right seeds and transplantsTo learn which plants grow best directly seeded in the garden and which plants are better as transplants, visit a seed starting calendar. If you want to grow specific varieties, especially heirloom varieties, you'll probably need to grow your own transplants from seed. Starting your own transplants is a great way to save money too.
|
Step 7: Carefully plantMost seed packets and transplant containers come with basic planting instructions. Make sure to plant seeds roughly 3 times as deep as the diameter of the seed, unless otherwise directed on the package. Some seeds require light for germination. Most transplants are planted at the same depth they were growing in the pot. The exception is tomatoes, which can be planted deeper or trenched in. Young plants are easier to damage than older plants, so they may need protection or hardening off when they are planted outside.
|
|
|
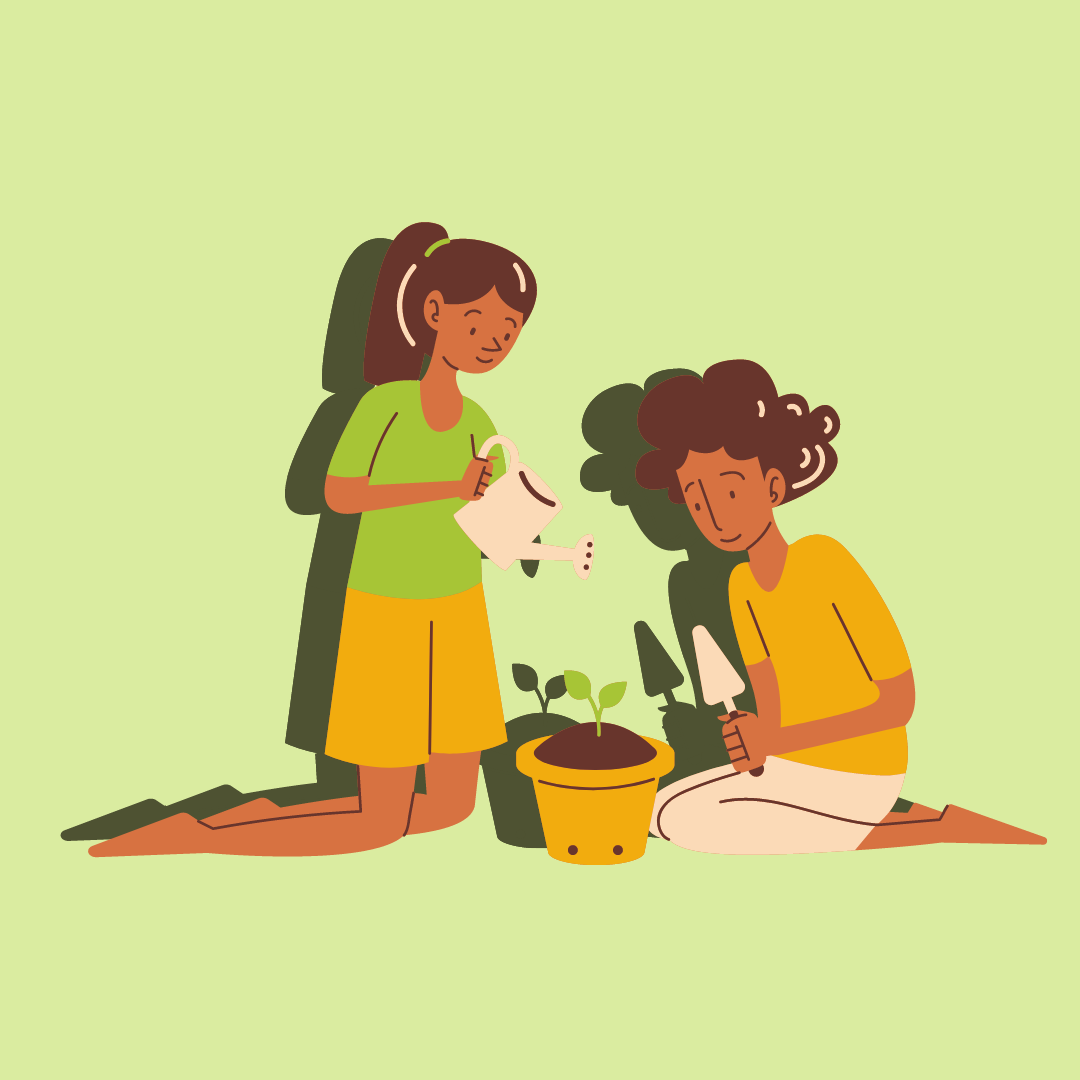
Step 8: Nurture your gardenDepending on the size of your plantings, time requirements may range from a few minutes per day to a full time job. Make sure to stay on top of any weed growth. Over watering is as bad as under watering, so always check the soil before watering your plants.
|
TUGI
|
|